Our Epoxy Garage Floor Before and After: What Charlotte Homeowners Can Expect
An epoxy garage floor before and after in Charlotte typically goes from stained, cracked bare concrete to a seamless polyaspartic-sealed flake finish in a single workday. The visible transformation matches the structural one. Titan Garage Floors finishes the full installation in one day, with vehicles typically returning the following morning after the final topcoat cures.
What will your garage actually look like the day after the crew leaves? That's the question most Charlotte homeowners are really asking when they search before-and-after photos. The honest answer depends on the slab they're starting with and the epoxy flake flooring system they’ve chosen, but the timeline remains steady across nearly every install. From bare gray slab to seamless flake finish in a single day, the timeline below walks you through the actual hours so you know what to expect.
The Starting Point: What a Bare Charlotte Slab Looks Like
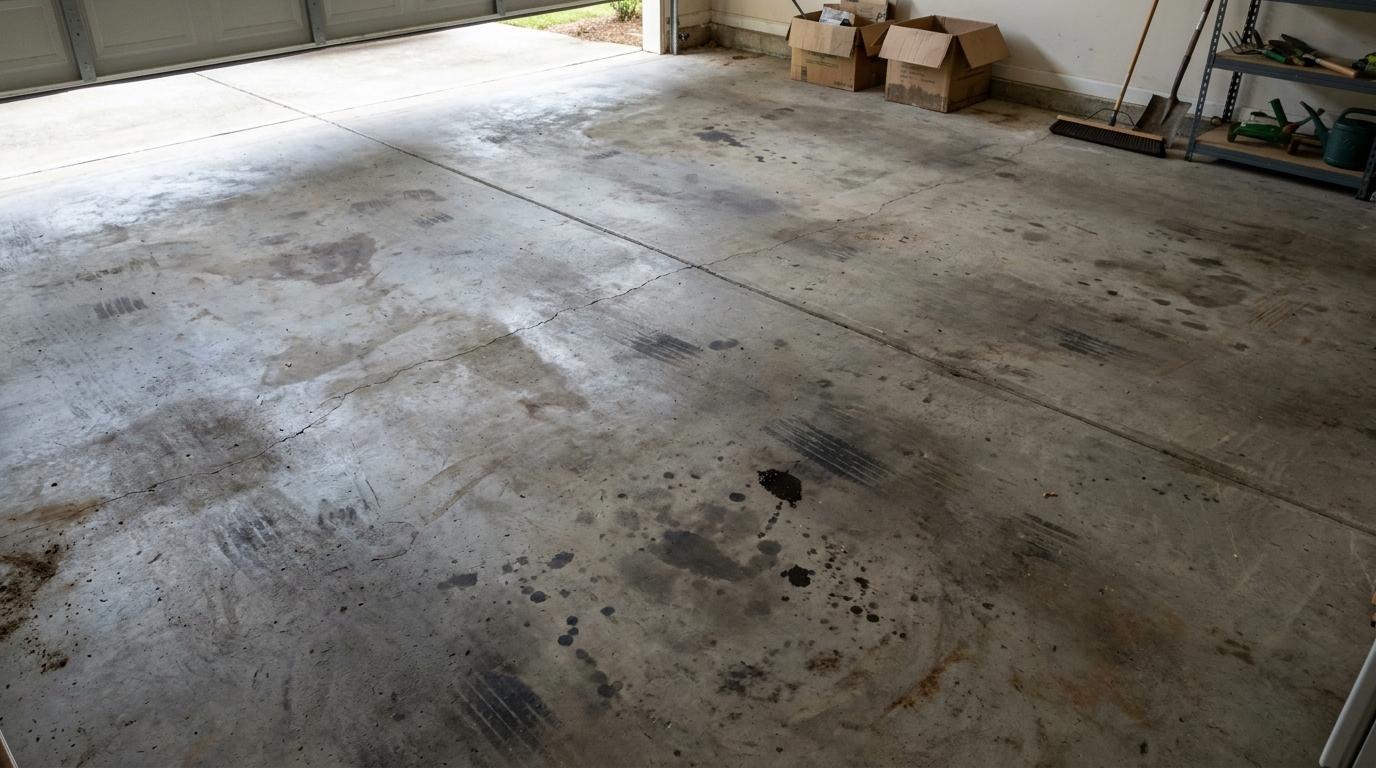
Most Charlotte garage slabs we coat fall into one of three before-states. Each starts at a different stage but ends at the same place.
New-Construction Slab
A new-build slab from a Waxhaw, Harrisburg, or Fort Mill subdivision is the easiest start. The concrete is clean and level, so grinding moves quickly and the finish looks especially uniform. Even when dealing with a freshly cured slab, Titan's floor coating prep still includes diamond grinding because surface laitance has to be removed before any resin can bond.
Mid-Age Slab With Stains
Oil stains, tire marks, a few control joint cracks, and visible discoloration are typical on a 5- to 15-year-old slab. The before-and-after contrast is dramatic, and the after looks newer than the slab was the day it was poured.
Older Slab With Cracks and Pitting
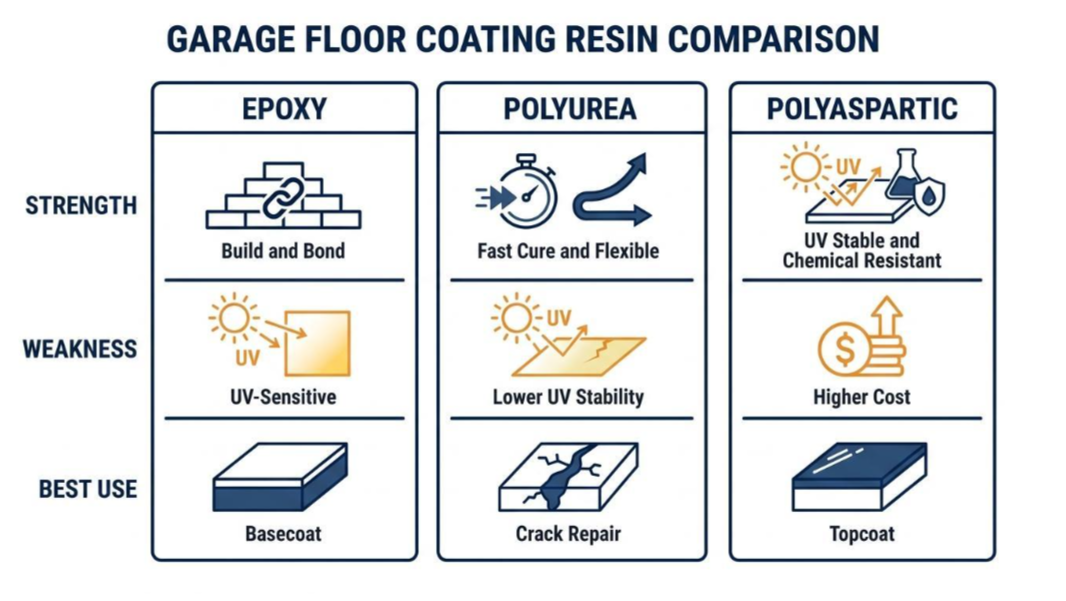
Pre-1990 slabs in older Charlotte neighborhoods often need crack and divot repair before coating. A flexible polyurea compound fills the cracks completely before the flake goes down, so the after photos look like brand-new floor across the entire space.
The 1-Day Install Timeline Hour by Hour
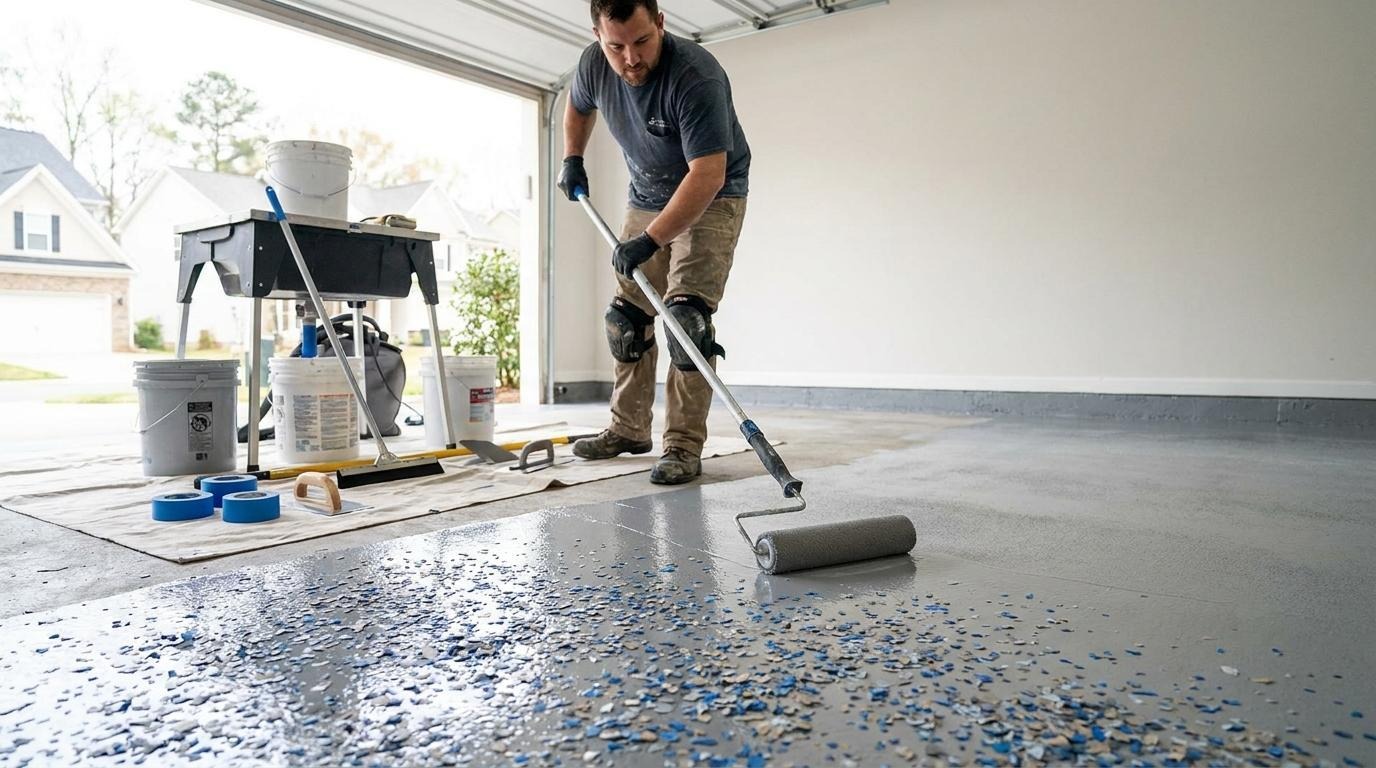
Every install Titan runs on a Charlotte garage follows the same schedule. The numbers below assume a standard two-car attached garage. Three-car and detached garages stretch the timeline by an hour or two.
Hours 1 to 3: Surface Preparation
Diamond grinding strips contaminants and opens concrete pores. Every visible crack, divot, and control joint gets filled with flexible polyurea compound. Dust collection runs continuously, and the space stays empty until the prep step is complete.
Hours 4 to 7: Basecoat and Flake
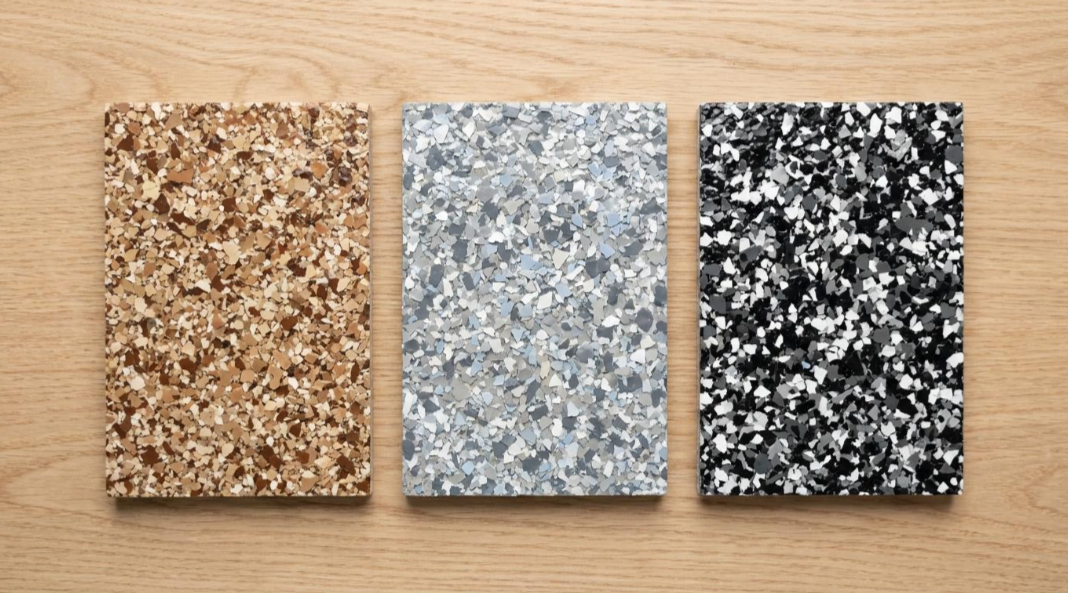
The epoxy basecoat is rolled across the entire slab. Vinyl flakes in the homeowner's chosen blend are broadcast across the wet basecoat until full coverage is reached. Once the basecoat sets enough to walk on, excess flake is scraped off, leaving a flat surface ready for the final coat.
Hours 8 to 9: Polyaspartic Topcoat
The polyaspartic urethane topcoat goes on as the final seal. By the end of the workday, the floor is dry to the touch and walkable. Vehicles typically return to the garage the following morning.
The Finished Floor: What Charlotte Homeowners See
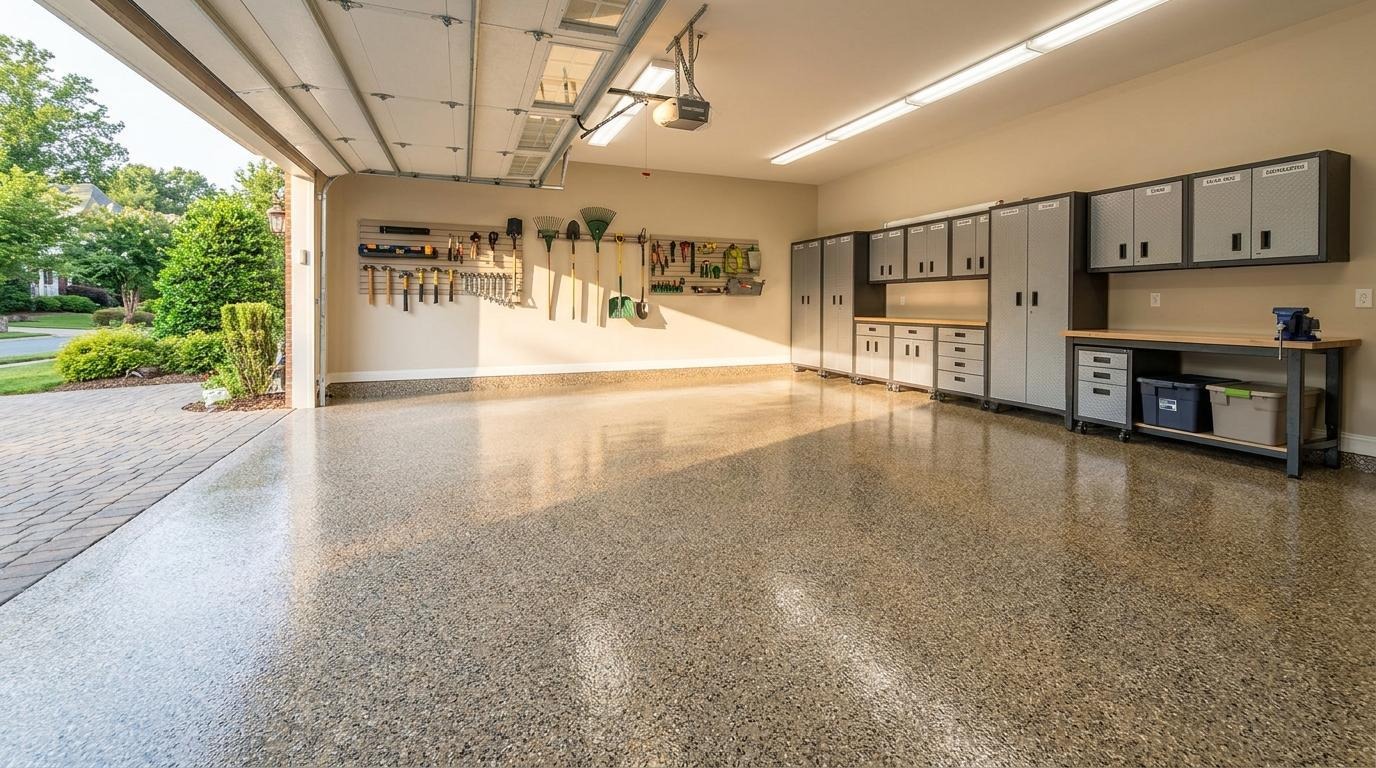
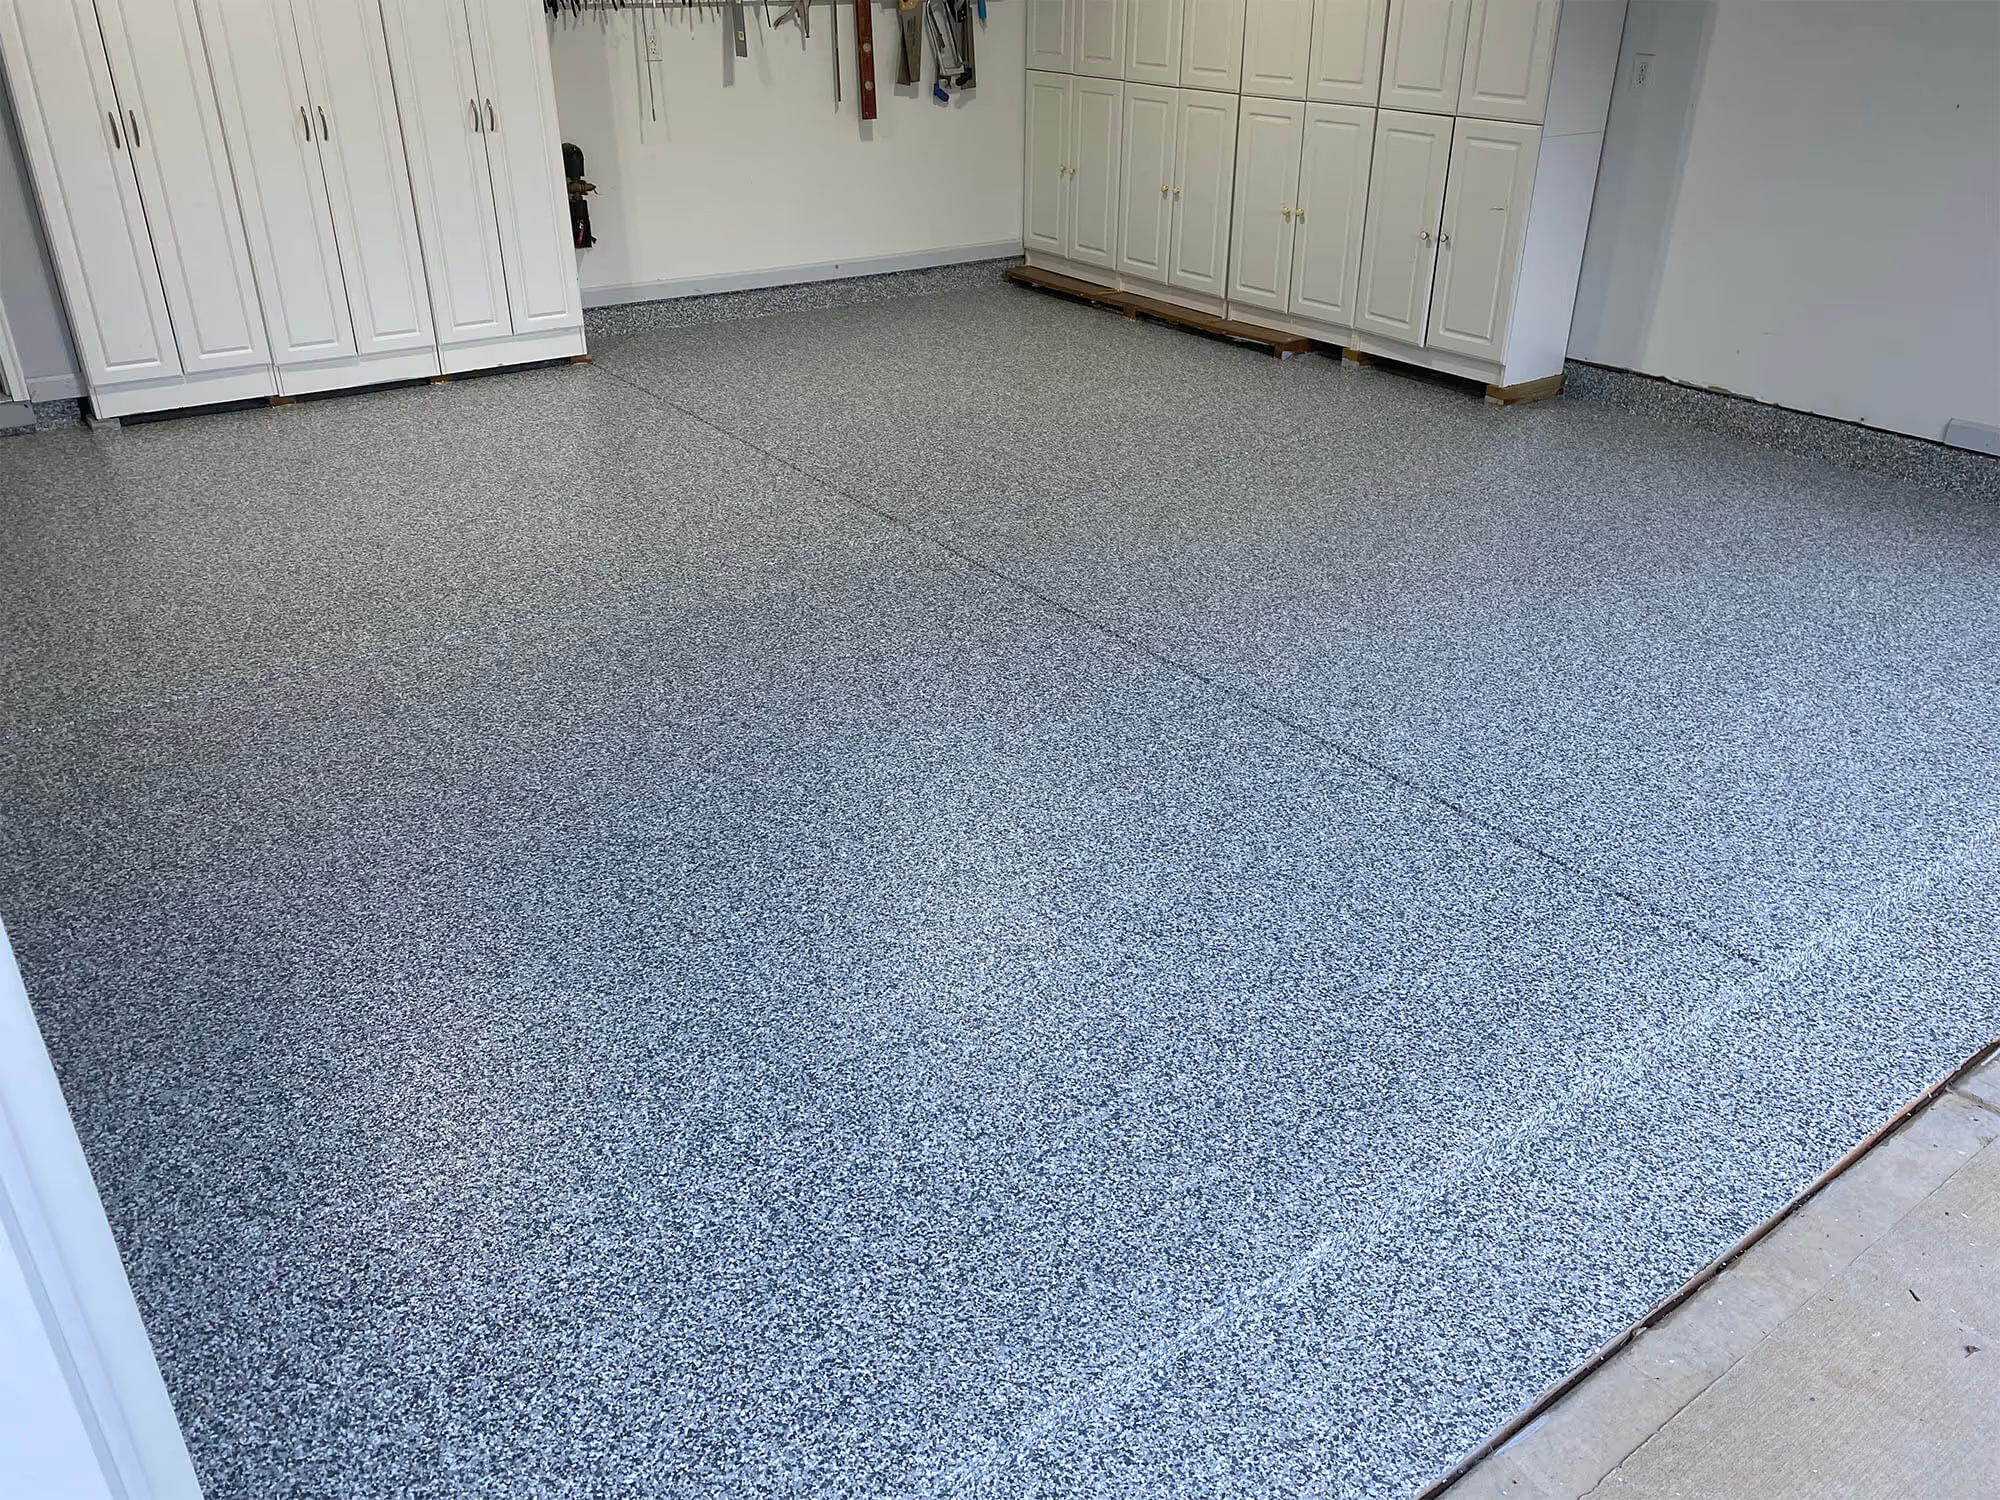
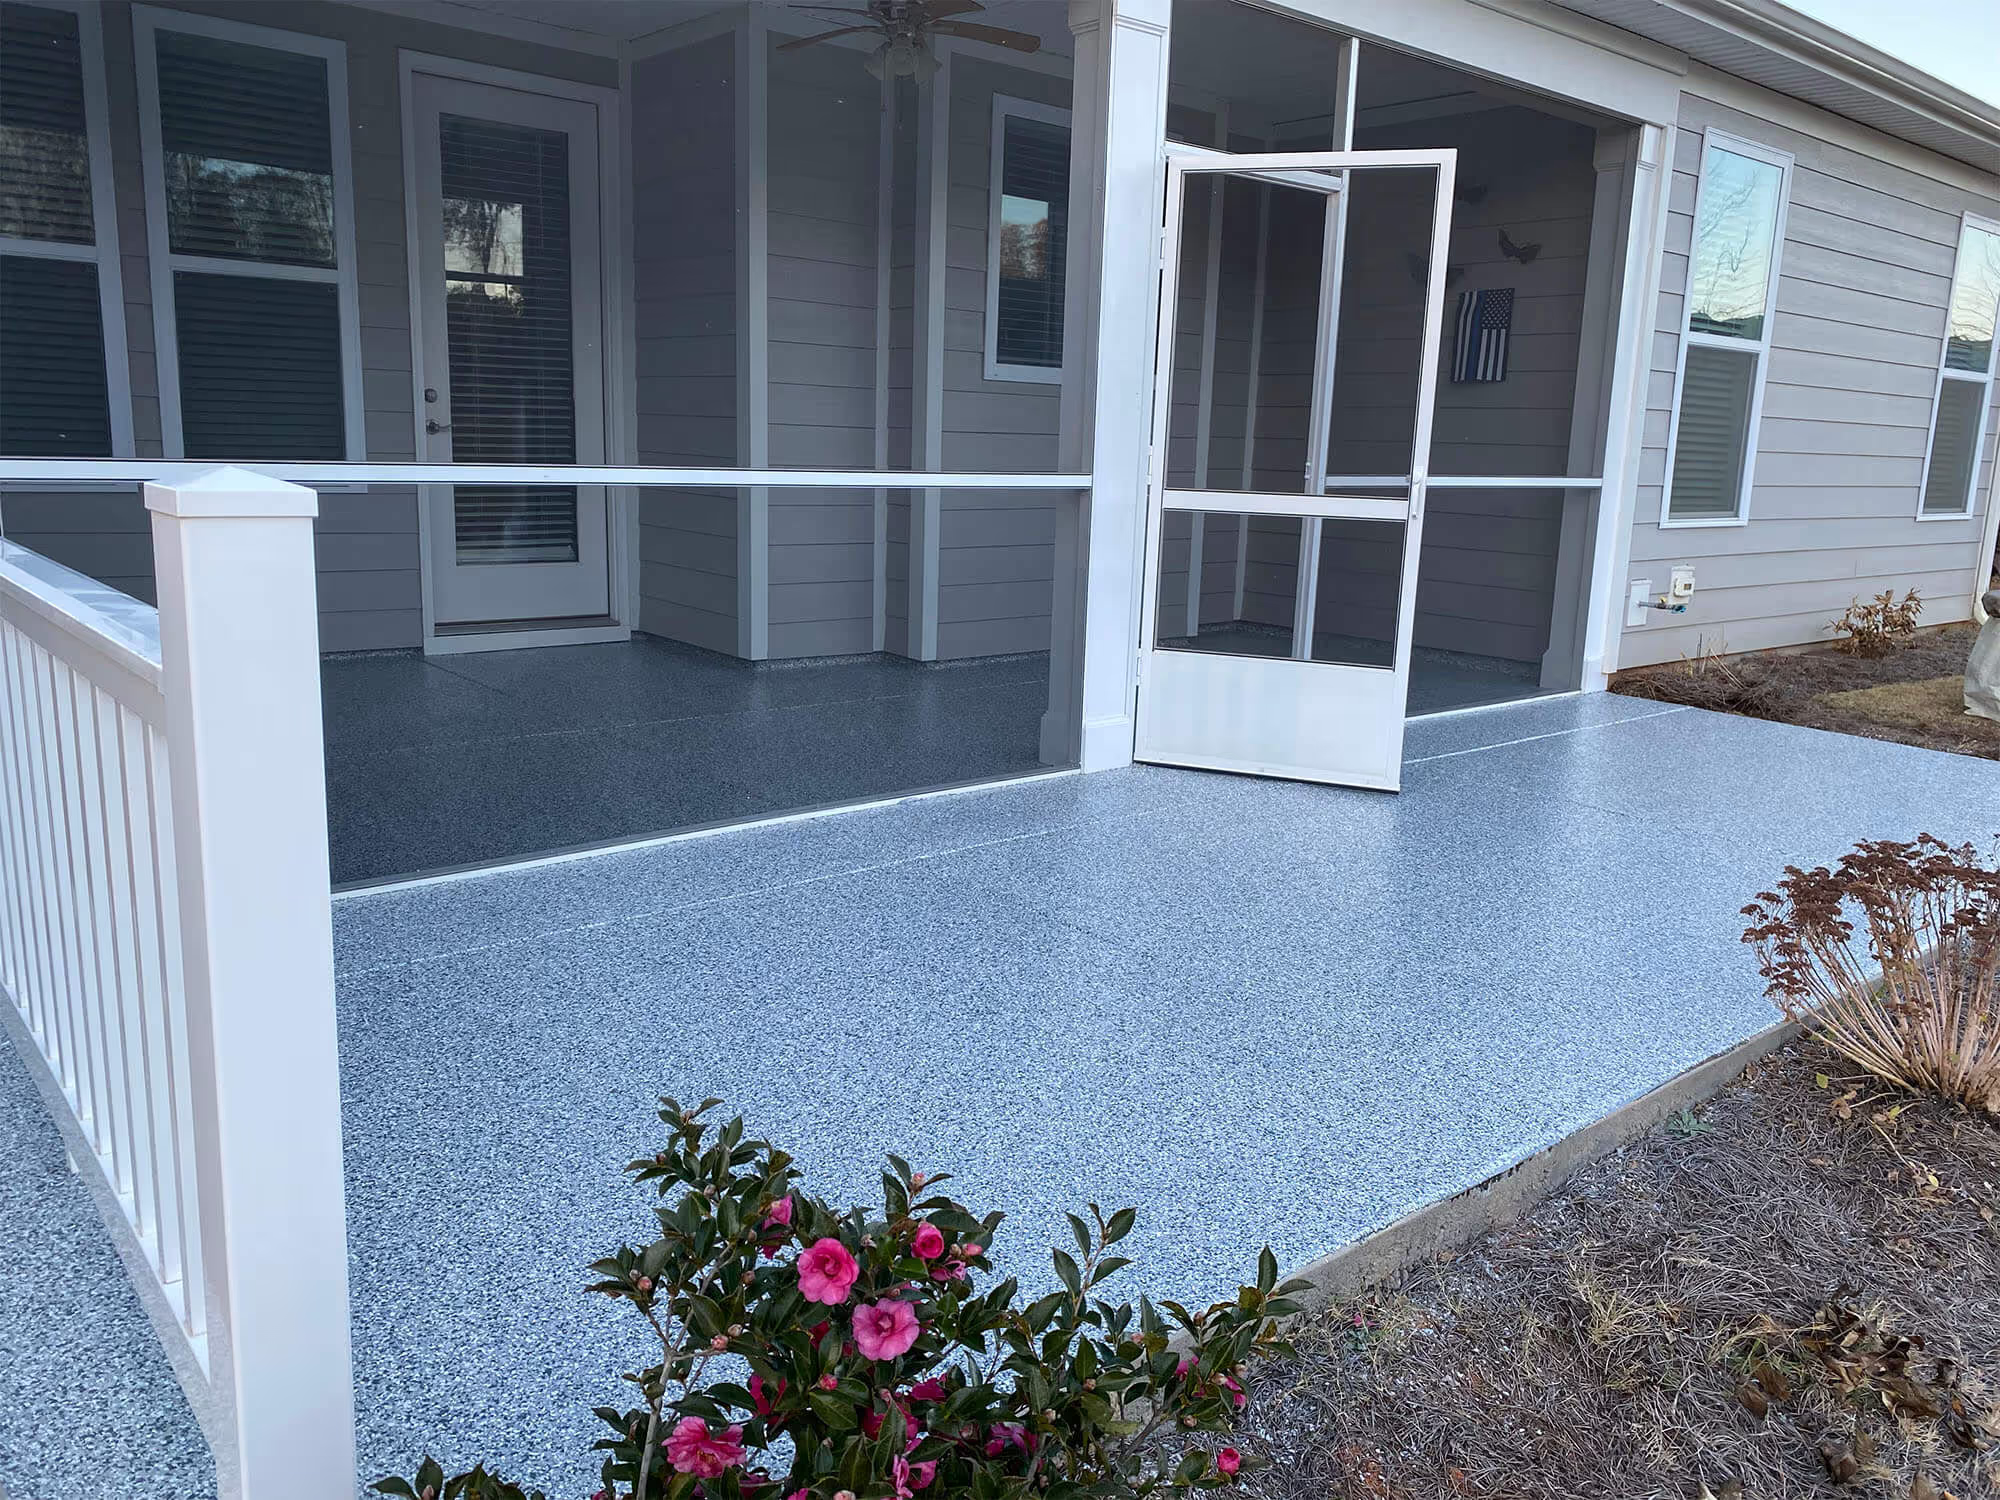
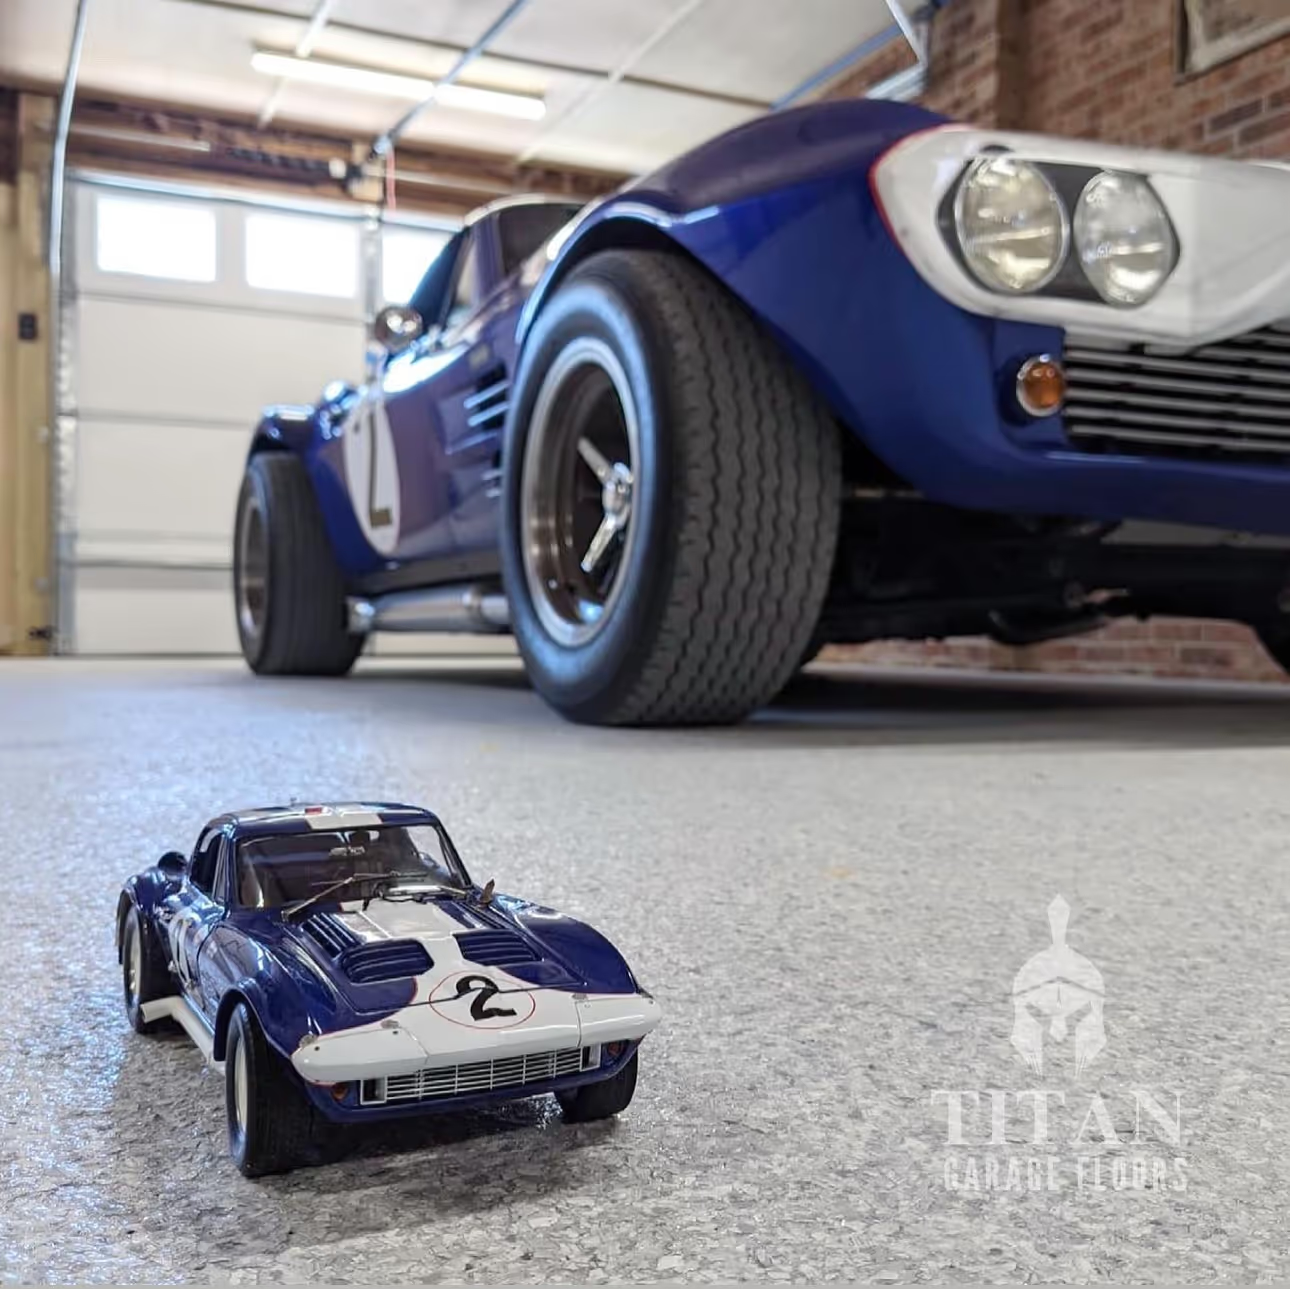
The finished floor looks completely different from the slab it covered. The flake blend creates depth and texture, the polyaspartic topcoat reflects light evenly, and the seamless surface eliminates the visual breaks of a bare slab with control joints.
Charlotte homeowners notice three things consistently after install: the garage feels brighter (flake and gloss bounce light), the space feels larger (no visual breaks due to joint lines or seams), and cleaning gets dramatically easier. The visual impact is why so many homeowners share photos of Titan's epoxy flake garage floor coatings within days of completion.
For homeowners weighing the broader impact of epoxy flooring on a Charlotte home's value, the before-and-after is often the most persuasive piece of the case for booking the install.
Frequently Asked Questions
How long does it take to epoxy a garage floor?
Epoxying a standard two-car garage floor takes one full workday with a professional install, from diamond grinding through polyaspartic topcoat. Larger or detached garages extend that by an hour or two. DIY kits take two to three days because cure times stretch without industrial equipment, and they still skip the prep steps that determine actual bond strength.
Is it worth it to epoxy your garage floor?
Whether epoxying a garage floor is worth it depends on how long you plan to keep the home and what condition the slab is in now. A 15-year-warranted polyaspartic system pays back through cleaning savings, hot tire and stain resistance, and visible resale impact in the Charlotte market. Homeowners with under three years in the property see less return.
What does a professional epoxy garage floor look like?
A professional epoxy garage floor reads as seamless, glossy, and uniformly colored, with a textured flake blend visible under a clear polyaspartic topcoat. Joint lines and cracks are filled and visually invisible. The surface bounces light evenly, which brightens the whole garage. Titan's flake system uses 1/4-inch vinyl chips in chosen color blends for that consistent appearance.
Picture Your Garage After a Titan Install
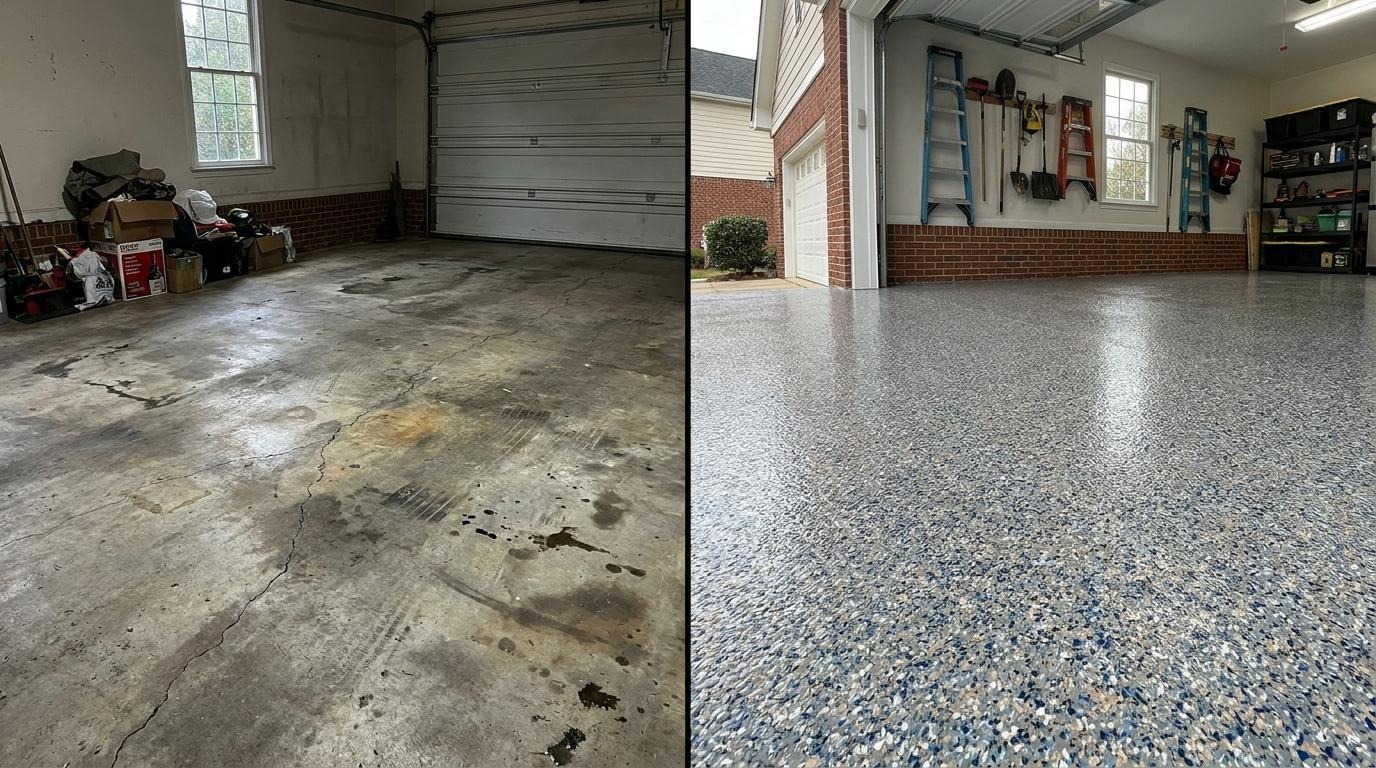
The transformation isn't just visual. A coated slab resists oil, road salt, and moisture absorption, which helps protect the concrete surface along with its appearance. Charlotte homeowners who book before-and-after installs through Titan see the change finish on the same day the installation starts.
For a Charlotte-area before-and-after quote, request a Titan Garage Floors free estimate or call (910) 852-9266.